Creating Custom Tables
Modified on Wed, 11 Sep, 2024 at 9:56 AM
TABLE OF CONTENTS
Introduction
This article will demonstrate how you can create your own custom tables in the AdviseInc Platform. To view how to create a custom pivot table click here.
Step-by-Step Guide
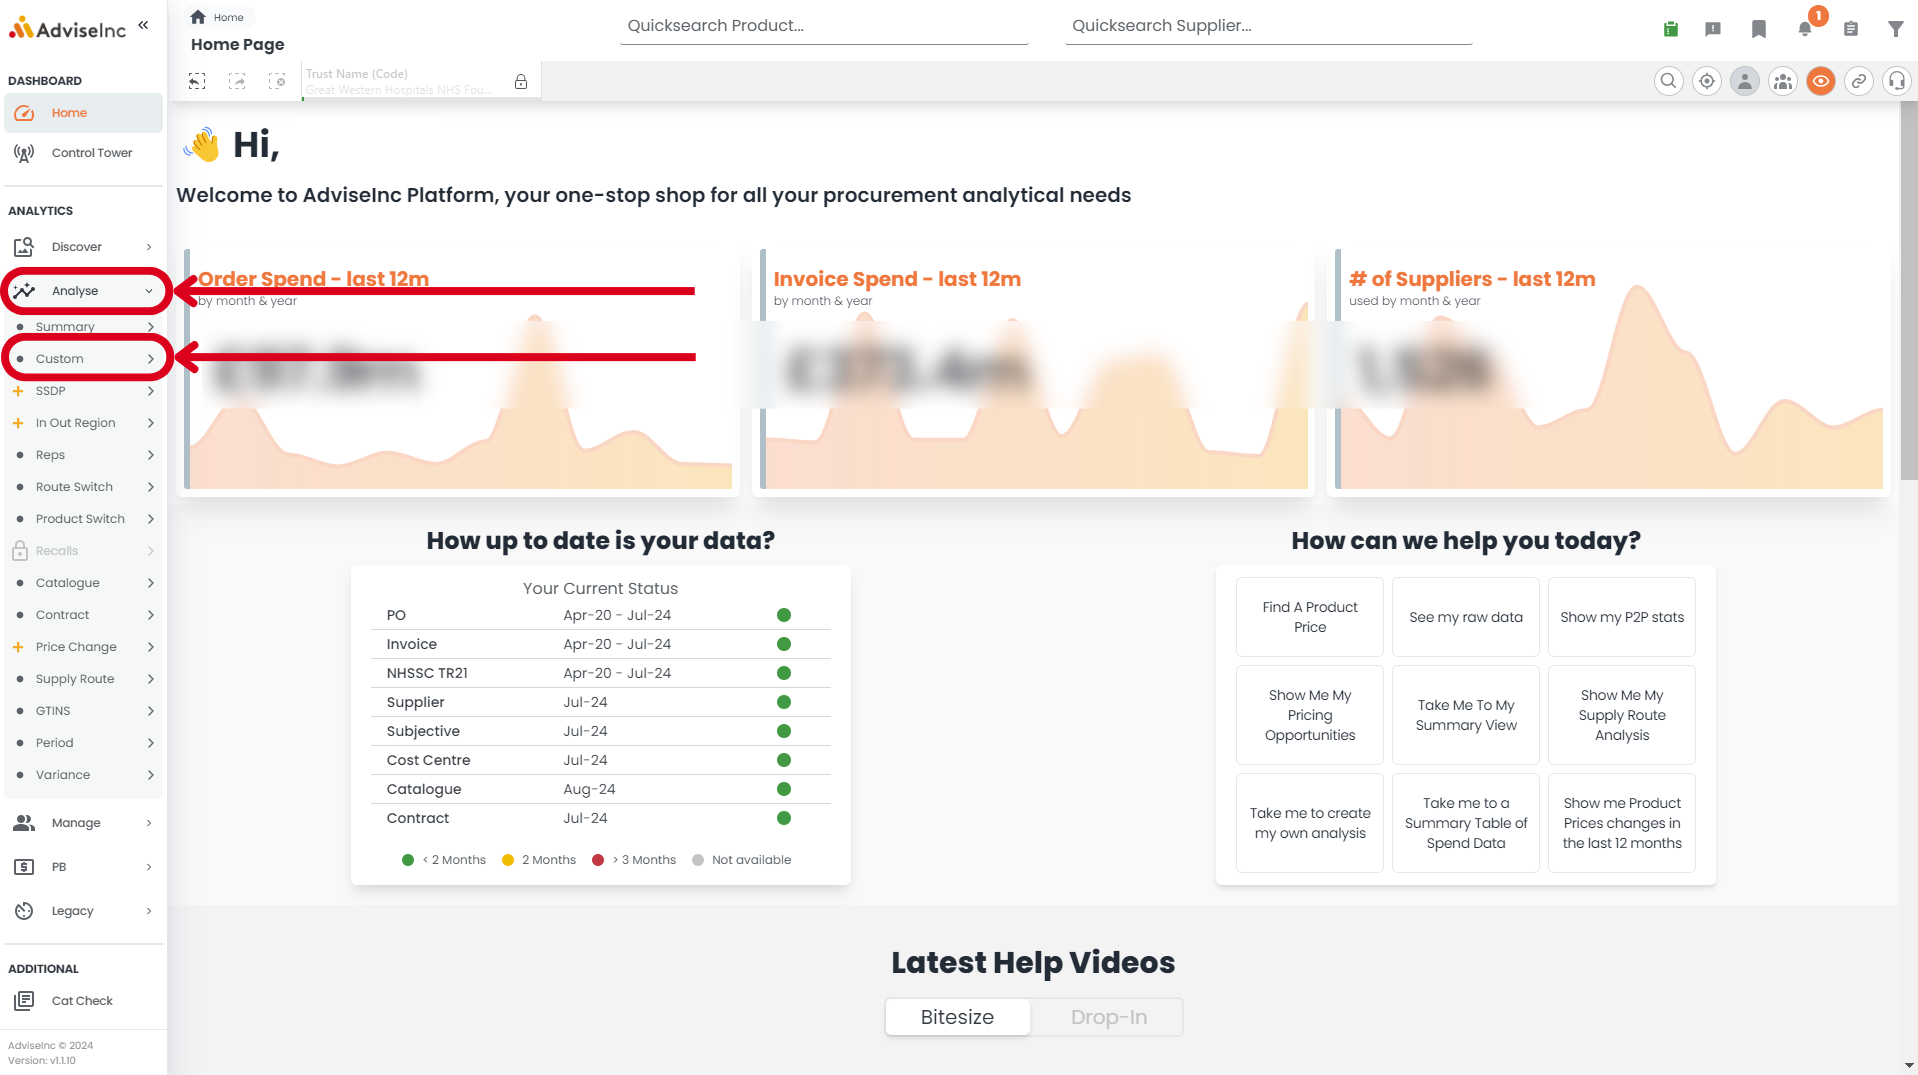
1. To create a custom table, you'll first need to select 'Analyse' on the left-hand side, then select 'Custom' from the dropdown list.
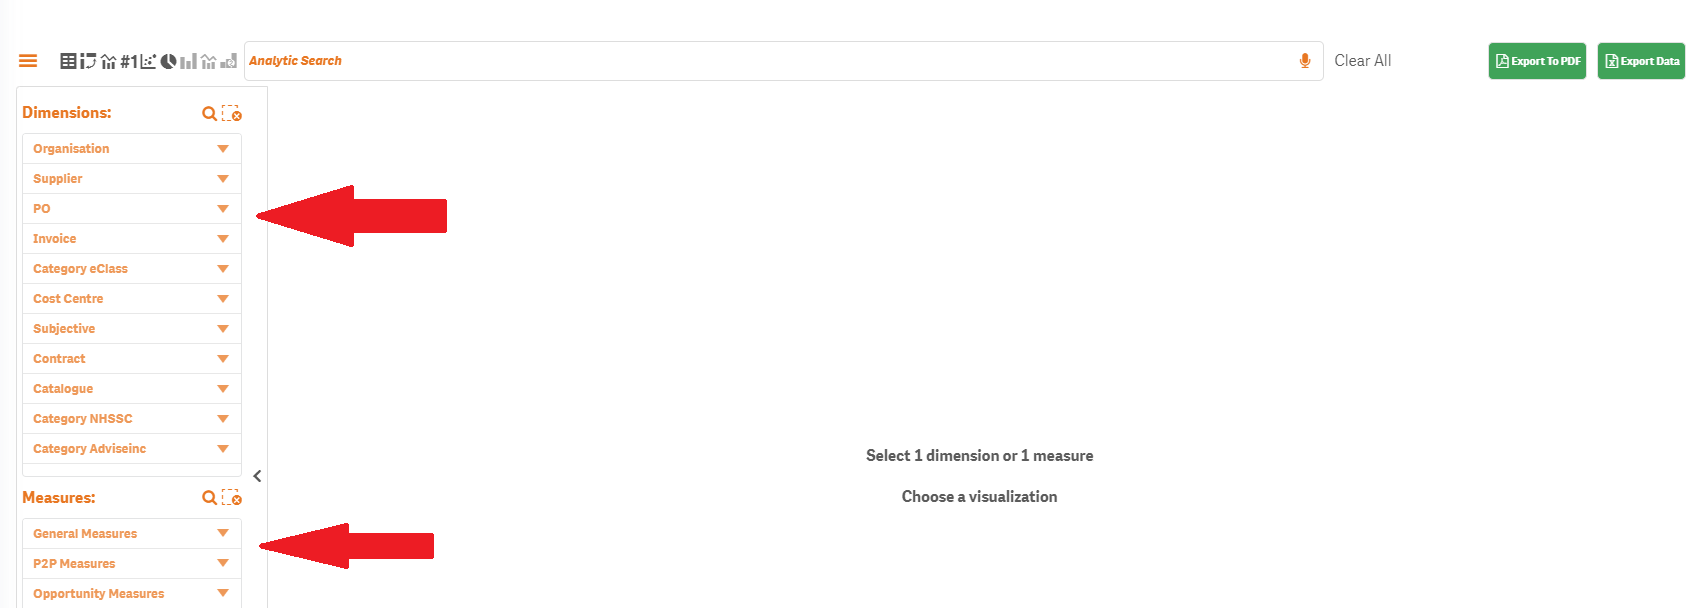
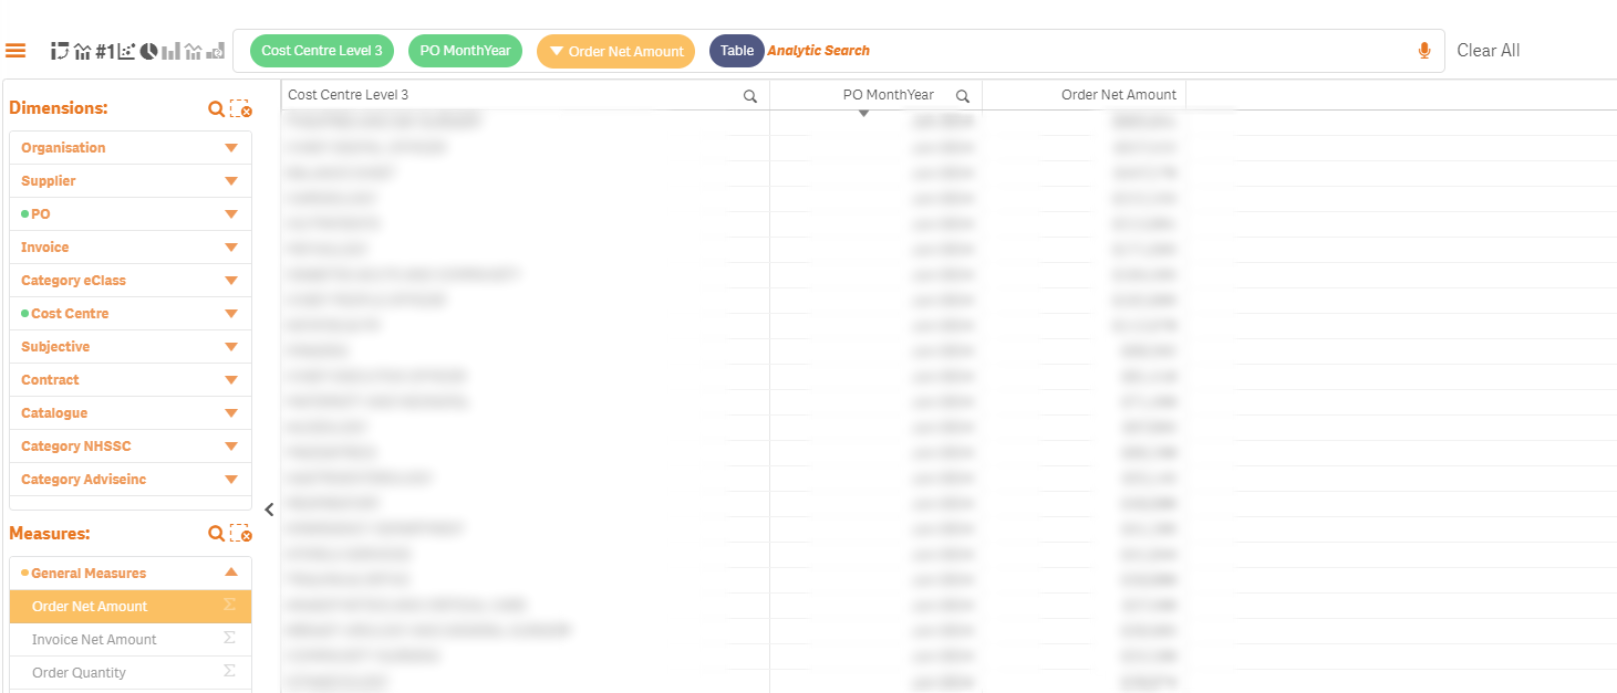
2. Next you'll need to select the appropriate Dimensions/Measures which will make up your custom table.
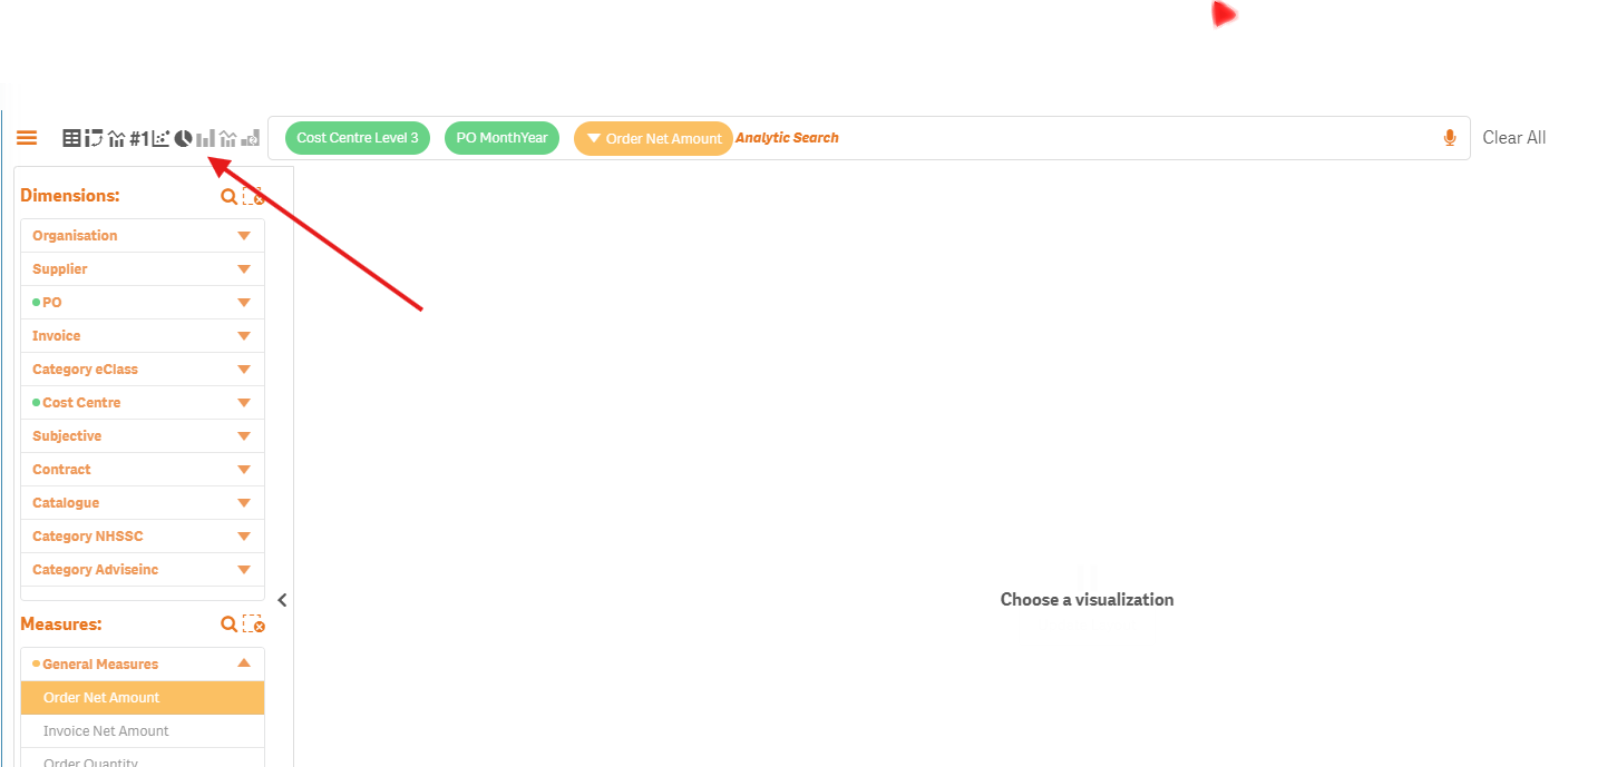
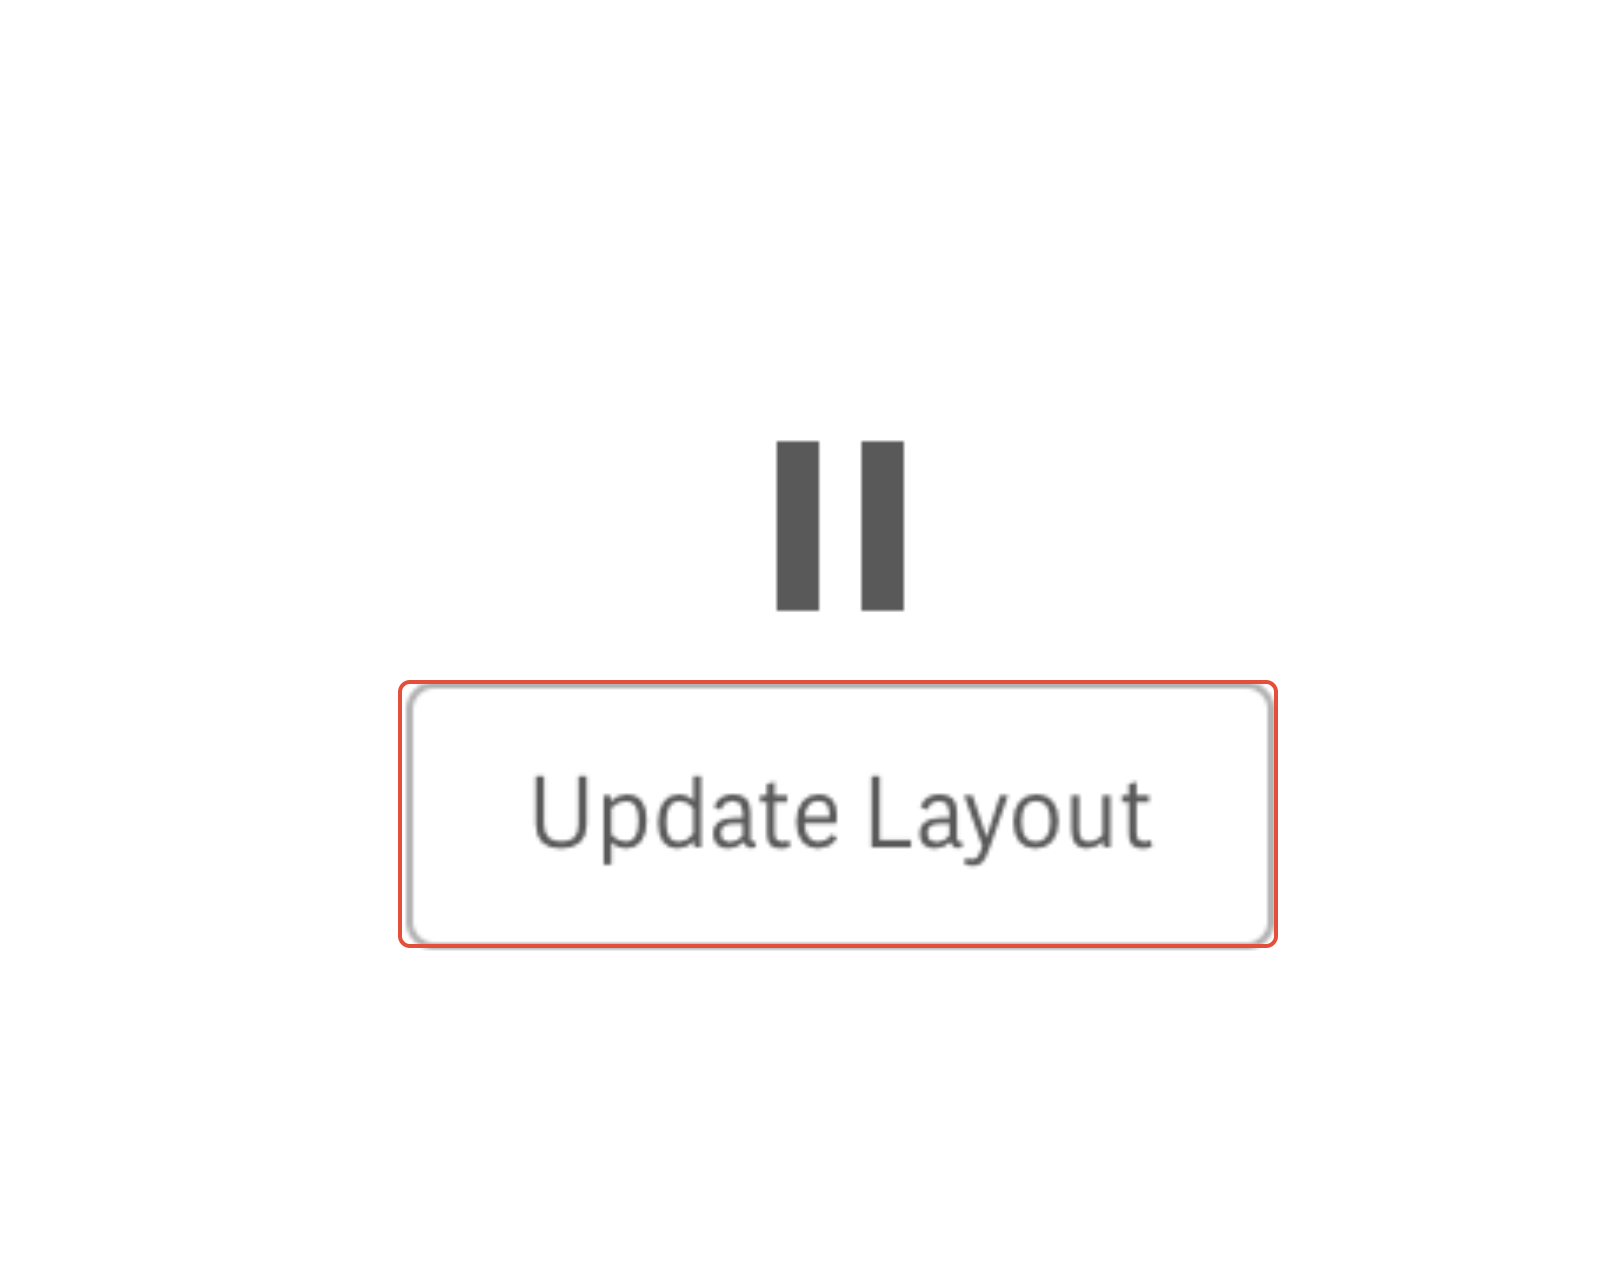
3. Once you've selected your Dimensions/Measures, you will be asked to select your visualisation. You can make your selection from the options located on the left-hand side, above the 'Dimensions' box (see the Notes and Tips section for more information). Once done, select 'Update Layout', and your table will be produced. If you wish, you can click and drag your selections to change the order in which they appear in the table.
Notes and Tips
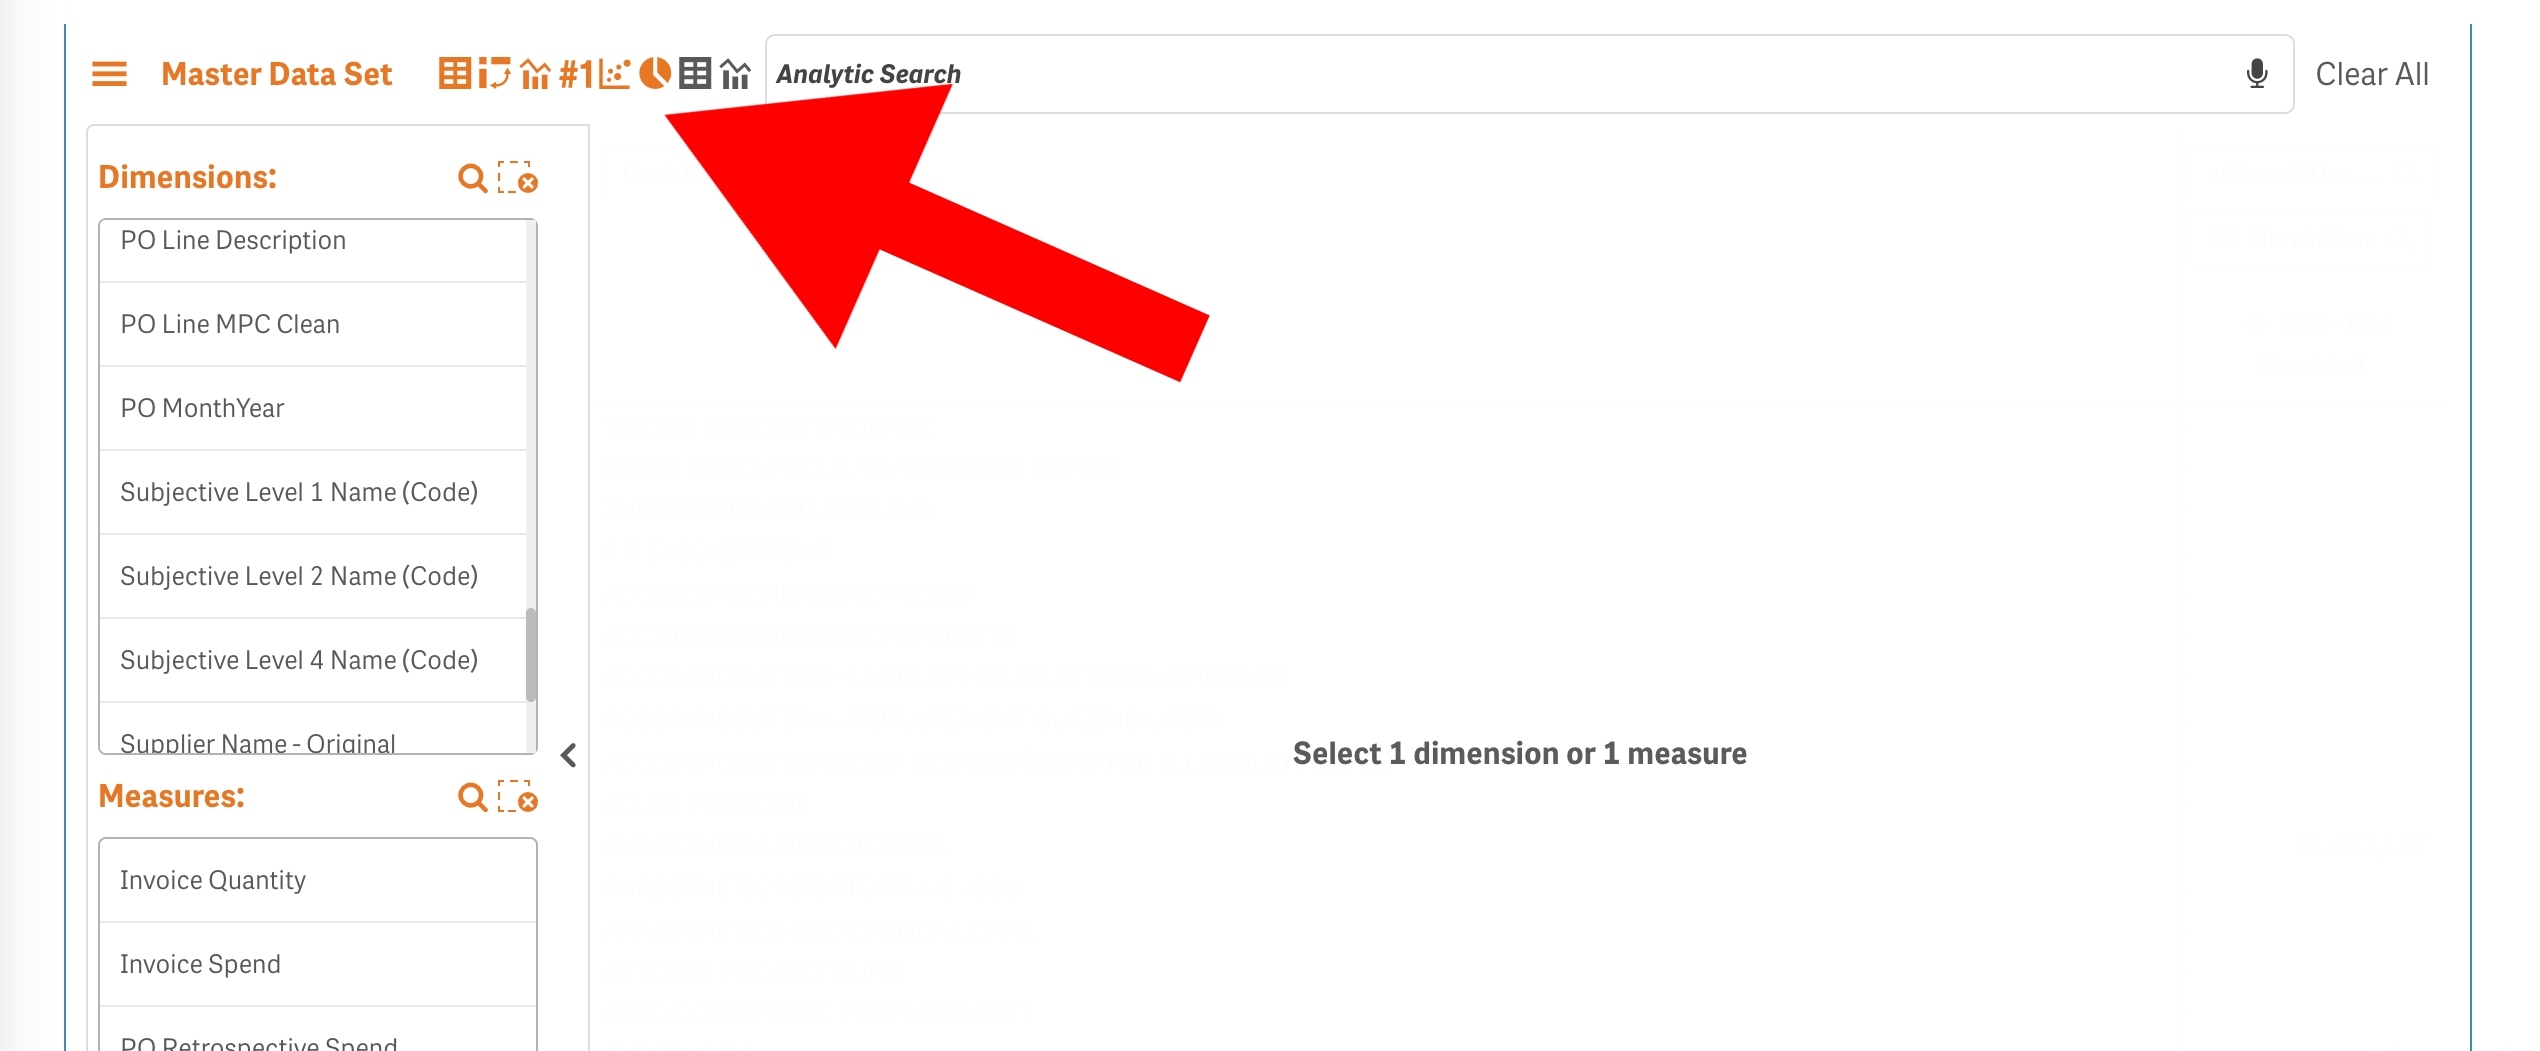
1. To provide you with a greater degree of customisation, we've given you the option to display your selections in various ways including Pie charts, Scatter charts, Pivot tables and more using the options shown in the below image.
If you have any questions, please don’t hesitate to get in touch at support@adviseinc.co.uk or phone us on 0207 112 9222.
Was this article helpful?
That’s Great!
Thank you for your feedback
Sorry! We couldn't be helpful
Thank you for your feedback
Feedback sent
We appreciate your effort and will try to fix the article