Creating Custom Pivot Table
Modified on Wed, 14 Aug, 2024 at 2:53 PM
TABLE OF CONTENTS
Introduction
This article will demonstrate how you can create your own custom pivot table within the AdviseInc Platform.
Step-by-Step Summary
1. Head to Analyse > Custom
2. Add required dimensions / measures
3. Select Pivot as the visualisation
4. Rearrange order or dimensions / measures by clicking and dragging
5. Choose how to view the pivot table by utilising the Pivot Table options.
Step-by-Step Guide
1. To create a custom pivot table, you'll first need to select 'Analyse' on the left-hand side, then select 'Custom' from the dropdown list.

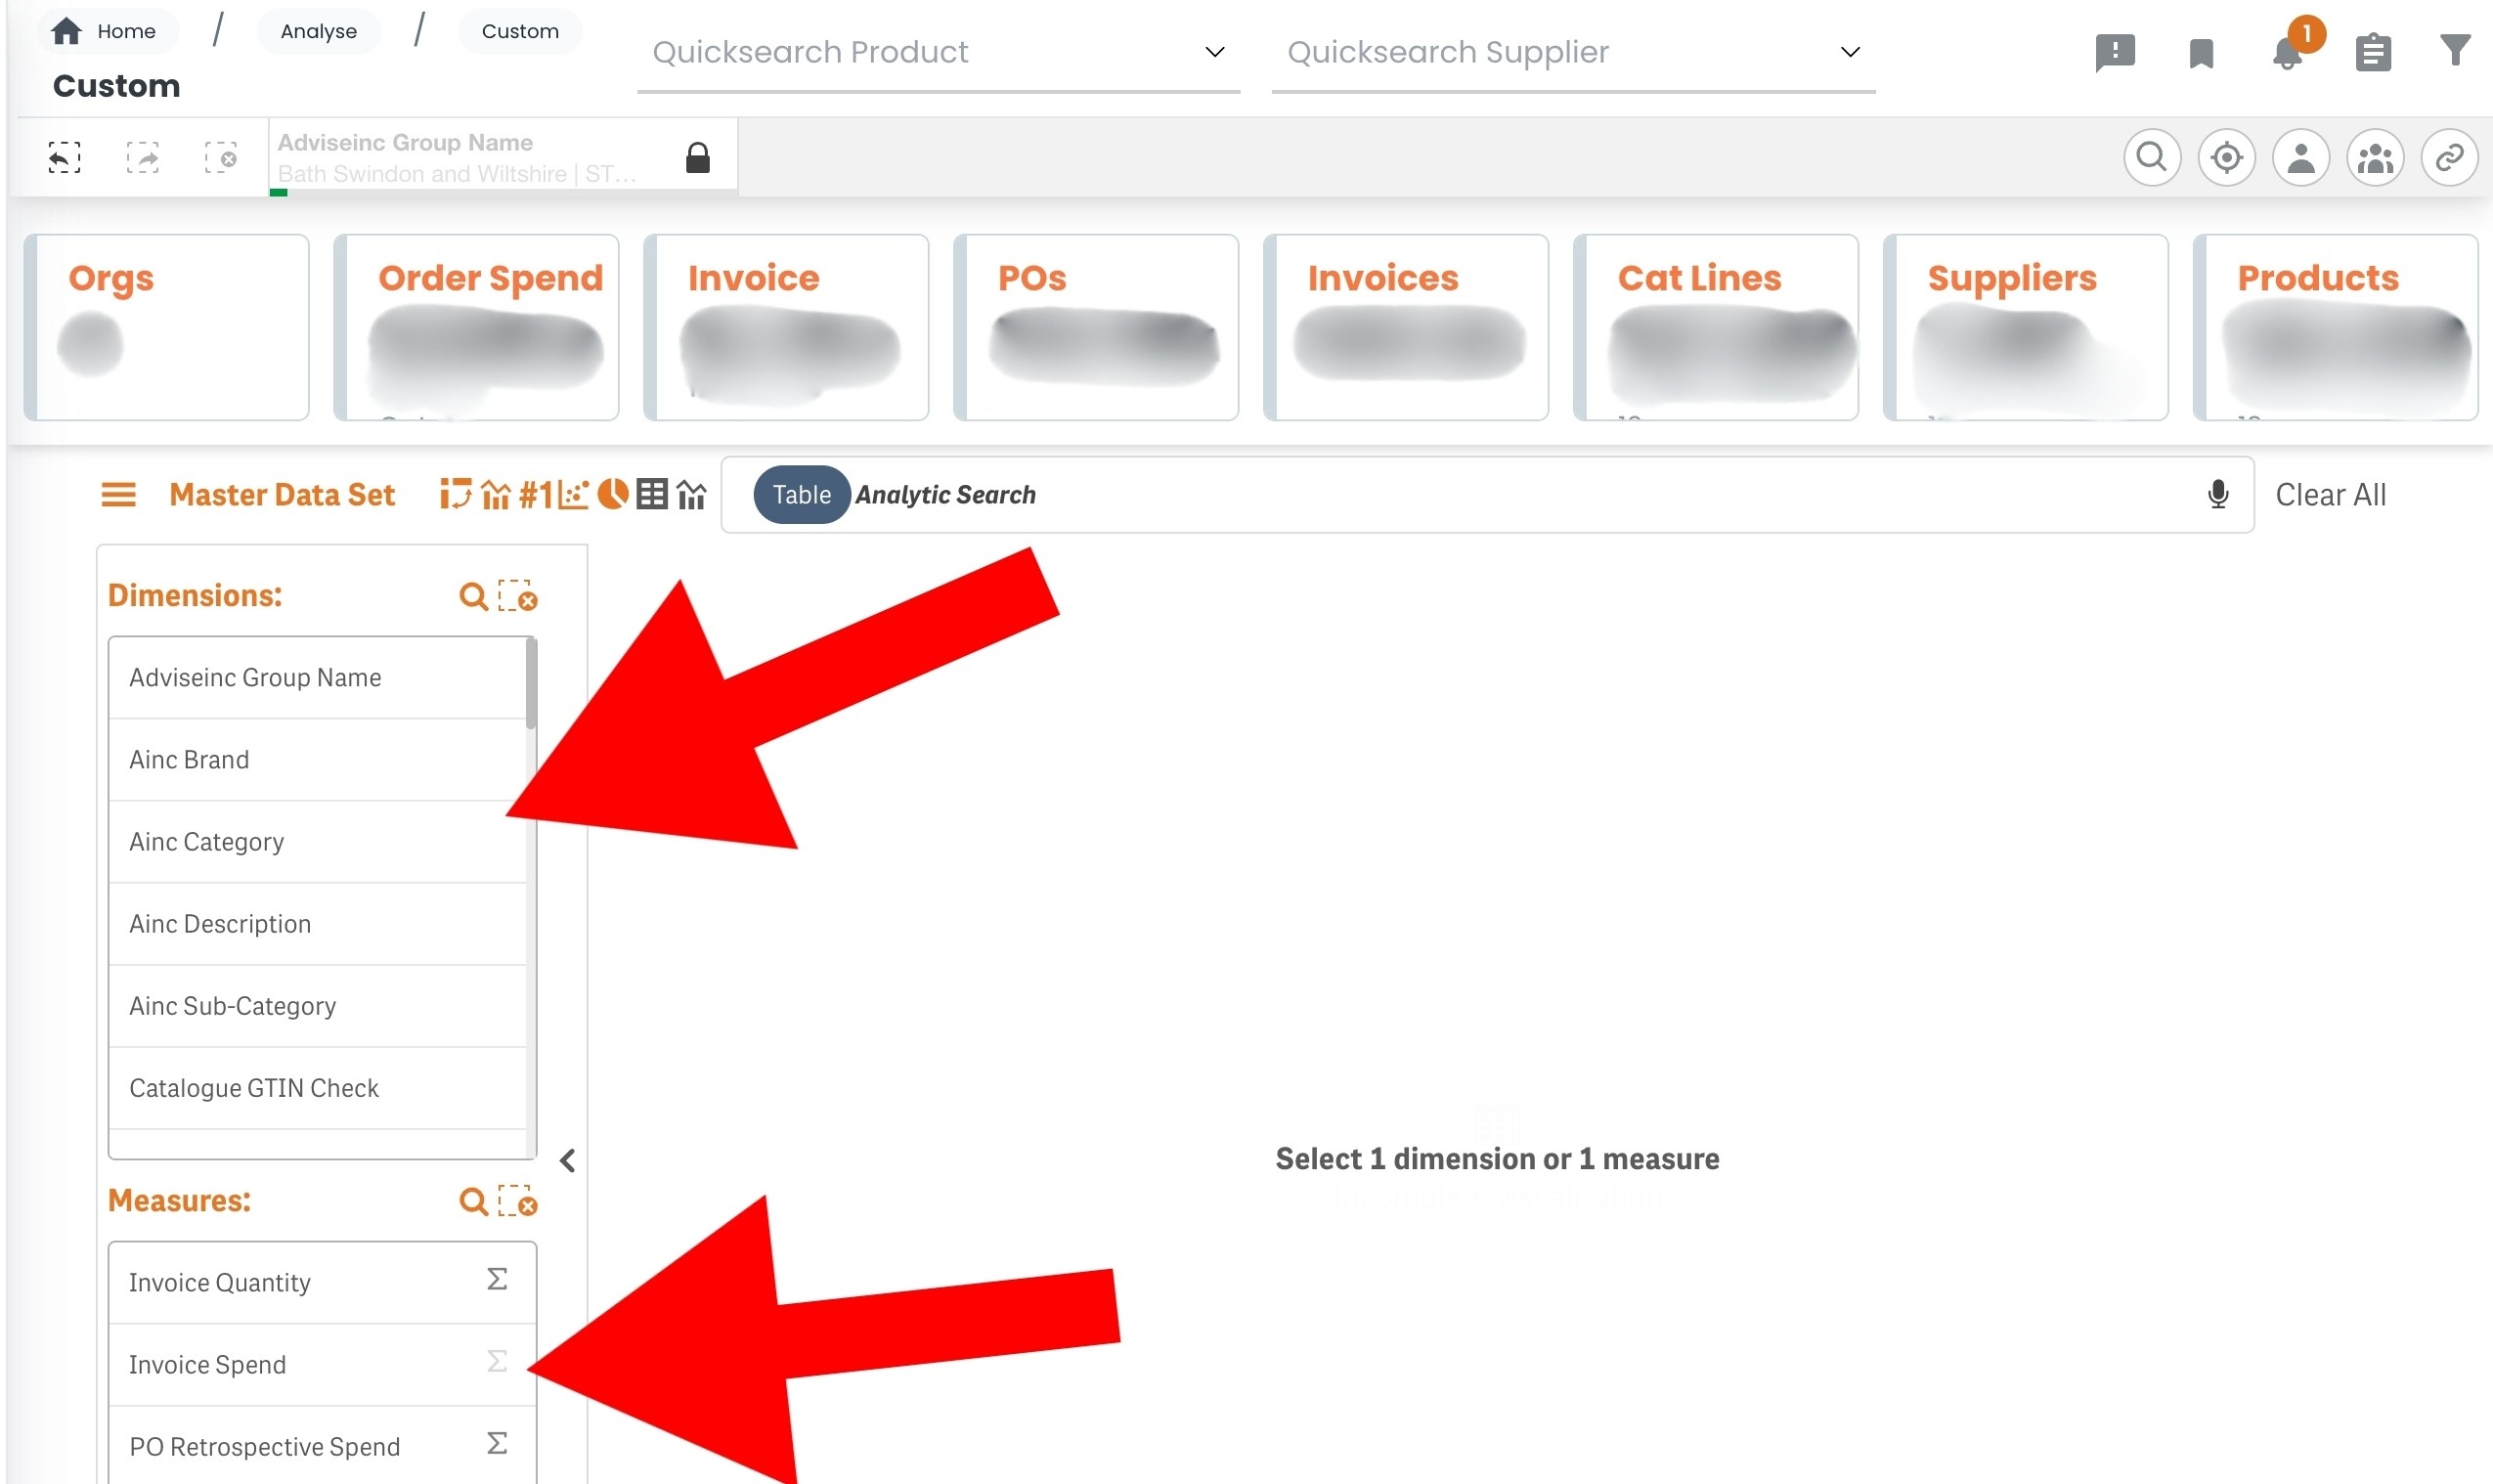
2. Next you'll need to select the appropriate Dimensions/Measures which will make up your custom pivot table.
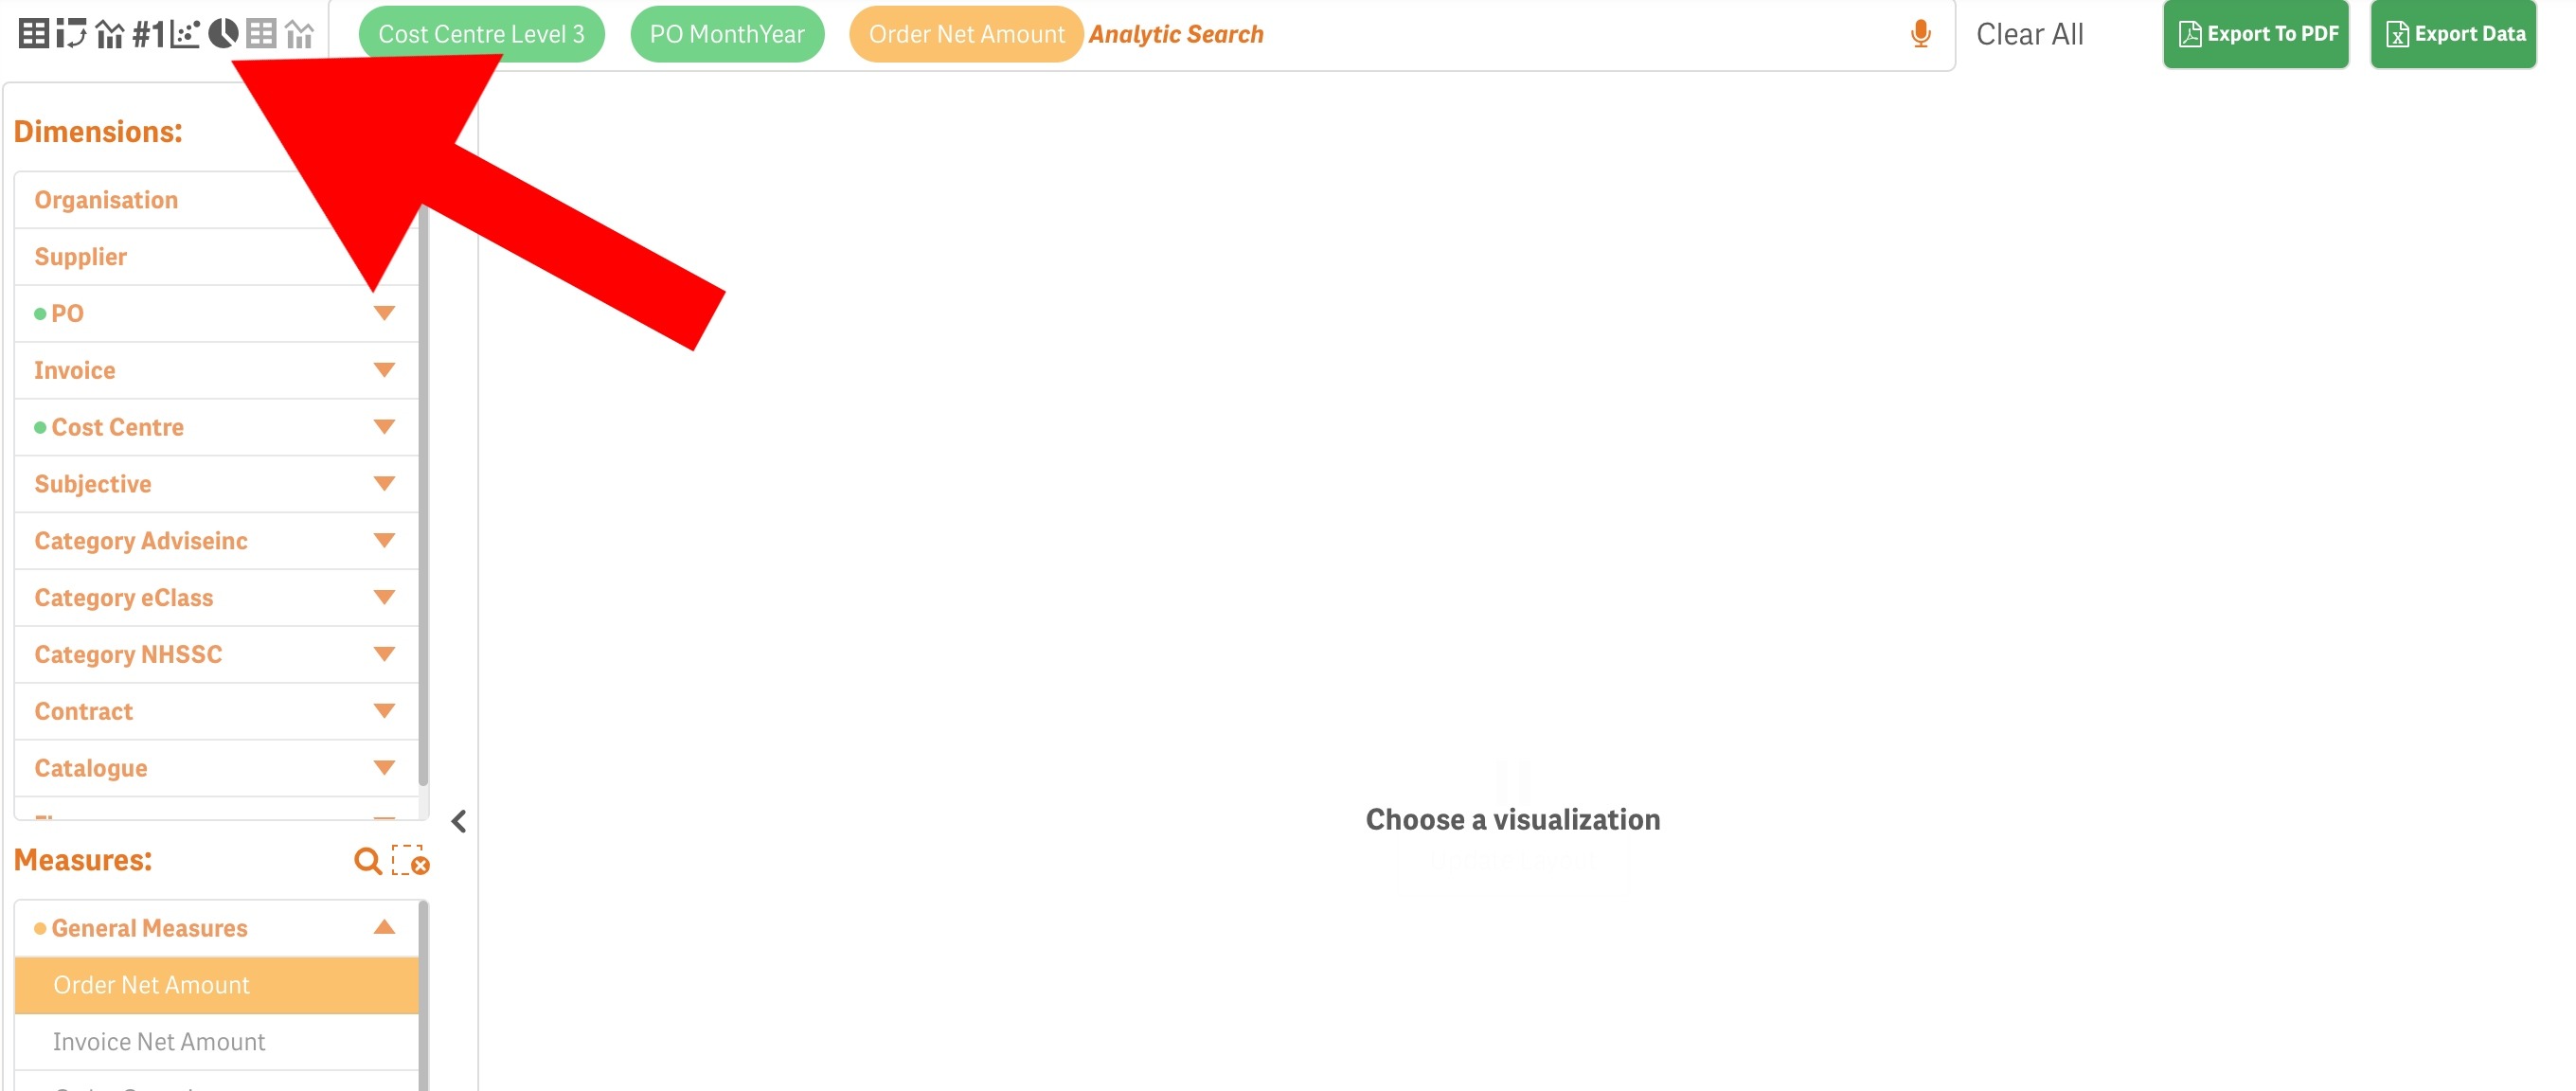
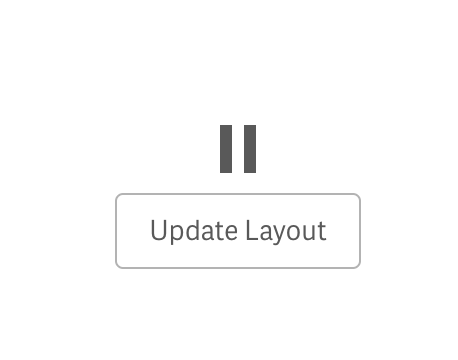
3. Once you've selected your Dimensions/Measures, you will be asked to select your visualisation. You can make your selection from the options located on the left-hand side, above the 'Dimensions' box. Select the 'Pivot Table' option in this instance and click 'Update layout'.
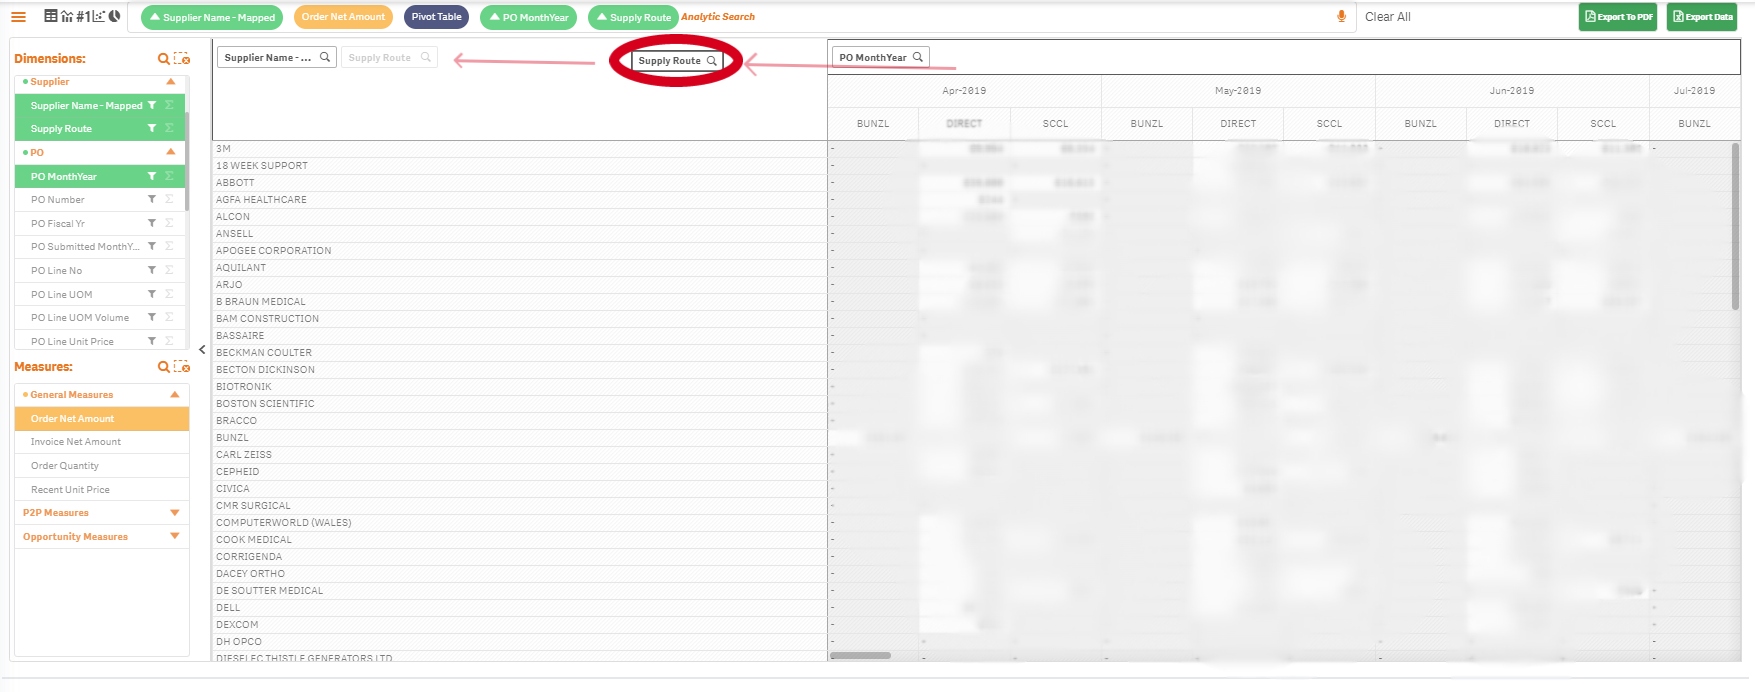
4. You can rearrange headers by clicking and dragging on their titles at the top of the pivot table and moving them between the horizontal and vertical options.
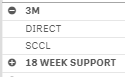
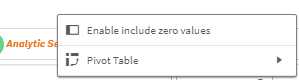
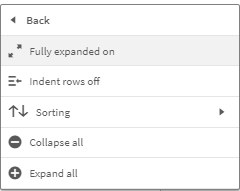
5. You can choose whether you see the pivot table expanded out to see all lines or collapsed by either clicking the + or - on each line. Alternatively right-click in the bar that says 'Analytic search', click 'Pivot Table' and you will see a number of options to select:
- Fully expanded on/off - this will remove/add all + and -s on lines and show it all in one go or with the options available to you
- Indent rows off/on -this will either leave the secondary header as a sub-layer of the first header or it will move it out to a separate column.
- Sorting - this provides you with options on how to sort the table
- Collapse all - this will hide all secondary header rows and only show the primary header lines
- Expand all - this will expand all lines to allow you to view all primary and secondary header lines.
Notes and Tips
1. You can download the table to excel by clicking the 'Export Data' button on the top right of the table. Be aware that it will download the table as it appears within the page, meaning if you have the rows collapsed that is how it will download.
2. Click here for more support on creating a custom table
If you have any questions, please don’t hesitate to get in touch at support@adviseinc.co.uk or phone us on 0207 112 9222.
Was this article helpful?
That’s Great!
Thank you for your feedback
Sorry! We couldn't be helpful
Thank you for your feedback
Feedback sent
We appreciate your effort and will try to fix the article